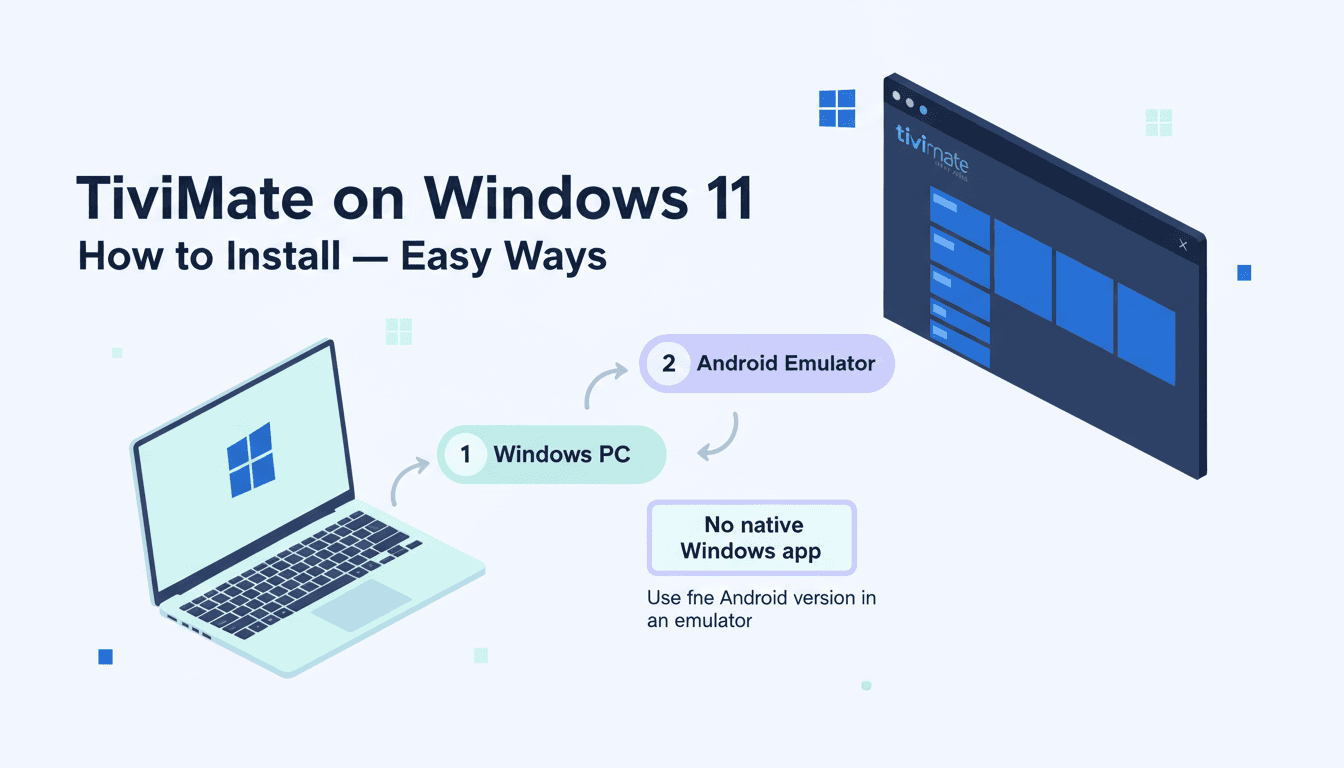
If you want to use TiviMate IPTV Player on Windows 11, there is one important thing to know before you start: TiviMate does not have a native Windows application.
TiviMate is designed for Android TV and remote-control navigation. There is no official Windows .exe or Microsoft Store version of the TiviMate IPTV Player.
However, you can still use TiviMate on a Windows 11 PC by running the Android version through an Android emulator such as BlueStacks or another compatible emulator.
This guide explains how to install TiviMate IPTV Player on Windows 11, add your IPTV playlist, configure the EPG, improve performance, and fix common problems. For the standard TV setup path, see our TiviMate Installation Guide.
Can You Install TiviMate Directly on Windows 11?
No. You cannot install the official TiviMate IPTV Player directly on Windows 11 like a normal Windows application.
TiviMate is an Android TV application. Its official Google Play listing specifically states that it is designed for Android TV and remote-control navigation. It supports IPTV playlist formats such as M3U, Xtream Codes, and Stalker Portal, but it does not provide IPTV channels itself.
So, if you find a website offering a TiviMate Windows .exe or .msi file, be careful. That is not the normal official Windows installation method.
The practical solution is:
This lets your PC run the Android version of TiviMate inside a virtual Android environment.
What You Need to Run TiviMate on Windows 11
Before installing anything, make sure your PC is ready.
You will need:
- A Windows 11 PC or laptop
- A stable internet connection
- An Android emulator
- Enough RAM and storage
- Virtualization enabled if required by your emulator
- A TiviMate-compatible IPTV playlist
- Your M3U URL, Xtream Codes details, or Stalker Portal information
- Optional EPG information from your IPTV provider
BlueStacks 5, for example, lists Windows 10 and above as supported, with at least 4 GB RAM and 5 GB free storage for its minimum requirements. Its recommended setup includes 8 GB or more RAM, an SSD, updated graphics drivers, and virtualization enabled.
For a smoother IPTV experience, a PC with 8 GB RAM or more and an SSD is preferable.
Best Way to Install TiviMate on Windows 11
The simplest approach is to use an Android emulator.
BlueStacks is one commonly used option because it provides an Android environment inside Windows and supports Windows 11. Other Android emulators may work as well, but the exact menus can differ between products and versions.
Step 1: Check Virtualization on Windows 11
Android emulators perform better when hardware virtualization is enabled.
You can check this without entering the BIOS.
On Windows 11:
- Press Ctrl + Shift + Esc.
- Open Task Manager.
- Select Performance.
- Click CPU.
- Look for Virtualization.
If it says Enabled, you are ready.
If it says Disabled, you may need to enable virtualization through your computer's UEFI/BIOS settings.
The exact option depends on your processor and motherboard. Intel systems may label it Intel Virtualization Technology, while AMD systems commonly use SVM Mode.
Do not change unrelated BIOS settings if you are unfamiliar with them.
Step 2: Install an Android Emulator
Download your chosen emulator from its official website rather than an unknown third-party download page.
For example, BlueStacks provides Windows 11 support and publishes its own system requirements and virtualization instructions.
After downloading the installer:
- Open the installer.
- Follow the installation instructions.
- Allow the required permissions.
- Wait for the Android environment to finish installing.
- Launch the emulator.
The first startup can take longer than normal because the emulator needs to create its Android environment.
Step 3: Open the Android Environment
Once the emulator starts, you should see an Android-style home screen.
Depending on the emulator, you may have access to:
- Google Play Store
- Android settings
- App search
- File management
- Virtual device settings
If Google Play is available, sign in with your Google account if required.
However, there is an important distinction here.
Do not expect TiviMate to appear as a normal Windows application.
You are running the Android version inside the emulator.
Step 4: Install TiviMate IPTV Player
The safest option is to obtain TiviMate from the developer's official distribution or Google Play, where available.
TiviMate's official website provides an APK download, while the app is also listed on Google Play.
Inside your Android environment:
- Open the available app store or APK installation method.
- Search for TiviMate IPTV Player.
- Confirm that the application is from Armobsoft FZE.
- Install the app.
- Open TiviMate after installation.
If you use an APK, make sure it comes from a trustworthy official source. Avoid modified, cracked, or unofficial versions that claim to include Premium features for free.
Step 5: Open TiviMate on Your Windows 11 PC
After installation, launch TiviMate from the emulator.
The TiviMate interface is designed primarily for large screens and remote navigation, so using it with a mouse and keyboard may feel different from using it on an Android TV device.
You may need to:
- Click buttons with your mouse
- Use keyboard navigation
- Adjust the emulator window size
- Switch between full-screen and windowed mode
A larger monitor can make the TV guide easier to use.
Step 6: Add Your IPTV Playlist
Installing TiviMate does not give you live TV channels.
TiviMate is a media player, not an IPTV service. You need to add your own playlist from a legitimate IPTV provider or another lawful source.
TiviMate supports common playlist methods including:
- M3U
- Xtream Codes
- Stalker Portal
Your provider should give you the information needed for the method they support.
For an M3U playlist
Select the option for an M3U playlist and enter the playlist URL provided by your service.
For Xtream Codes
You will normally need:
- Server URL
- Username
- Password
Enter the details exactly as provided.
Avoid adding extra spaces or changing the server address.
For a detailed walkthrough, see our How to Add Playlist to TiviMate guide.
Step 7: Let TiviMate Load Your Channels
After entering your playlist information, give TiviMate time to process it.
Depending on the size of the playlist and your internet connection, loading can take a little while.
Once completed, you may see categories such as:
- Live TV
- Movies
- Series
- Favorites
- TV Guide
The exact categories depend on the playlist supplied by your IPTV service.
If channels do not appear, check your playlist URL or login details before changing emulator settings.
Step 8: Set Up the EPG
EPG means Electronic Program Guide.
It displays information about current and upcoming programs.
Some IPTV providers automatically supply EPG information with your playlist. Others provide a separate EPG URL.
If your provider gives you a separate EPG source, add it through TiviMate's EPG settings.
After adding the source:
- Open TiviMate settings.
- Go to EPG.
- Check the available EPG source.
- Run an EPG update.
- Open the TV guide.
If you see “No Information”, do not immediately reinstall TiviMate.
The problem may be related to the EPG source, channel mapping, outdated guide data, or your provider.
You can read our TiviMate EPG Not Updating Fixes guide for detailed troubleshooting.
Step 9: Test Live TV Before Changing Settings
Once the playlist and EPG are loaded, test several channels.
Try:
- An SD channel
- An HD channel
- A different channel group
- A channel with EPG information
- A channel from another category
This helps you identify whether the problem is with TiviMate, the emulator, your internet connection, or the IPTV source.
If only one or two channels fail, the problem may be specific to those streams.
If every channel buffers or fails, investigate the network, playlist, provider, or emulator.
How to Make TiviMate Run Better on Windows 11
Running an Android app through an emulator adds another layer between the application and Windows.
That means performance depends on both your PC and emulator configuration.
Give the Emulator Enough Resources
If your computer has sufficient hardware, you can allocate appropriate CPU cores and RAM to the emulator.
Do not allocate everything to the emulator.
Windows still needs resources to run normally.
A PC with 8 GB RAM should generally leave enough memory available for Windows and other applications rather than assigning nearly all RAM to the emulator.
Close Unnecessary Programs
Before watching IPTV, close resource-heavy applications such as:
- Video editors
- Large browser sessions
- Games
- Download managers
- Other virtual machines
This can reduce unnecessary CPU and RAM usage.
Use an SSD
If Windows and the emulator are installed on an SSD, startup and general application loading can be faster than on an older mechanical hard drive.
Keep Graphics Drivers Updated
Outdated graphics drivers can sometimes cause display or performance problems with applications that use hardware acceleration.
Keep your Windows and graphics drivers reasonably current.
TiviMate Buffering on Windows 11
If TiviMate buffers on your PC, do not automatically assume the emulator is the cause.
Buffering can come from several places:
- Internet connection
- Wi-Fi interference
- IPTV stream server
- IPTV provider
- Emulator performance
- CPU usage
- Graphics settings
- Decoder compatibility
Start by testing another channel.
If one channel buffers while others play normally, the stream itself may be the problem.
If everything buffers, test your internet connection and emulator performance.
You can also review our TiviMate Buffering Fix guide for more troubleshooting steps.
TiviMate Not Opening on Windows 11
If TiviMate crashes or refuses to open inside the emulator, try these steps:
1. Restart the emulator
Completely close the emulator and launch it again.
2. Restart Windows
A full system restart can clear temporary virtualization or resource issues.
3. Check virtualization
Make sure hardware virtualization is enabled if your emulator requires it.
4. Update the emulator
An outdated emulator may have compatibility problems with newer Android applications.
5. Update graphics drivers
Display problems can sometimes be related to outdated drivers.
6. Reinstall TiviMate
If only TiviMate is affected while other Android applications work correctly, reinstalling the app may help.
Do not immediately reinstall the entire emulator unless other troubleshooting steps fail.
TiviMate Black Screen on Windows 11
A black screen can have several causes.
First, determine whether:
- TiviMate opens, but the video is black
- The entire emulator is black
- Menus work, but streams do not display
- Audio works while video is missing
If the emulator itself is displaying correctly but the video is black, check the emulator's graphics settings and TiviMate's playback/decoder options.
If changing a decoder fixes one stream but breaks another, return to the previous setting. There is no single decoder configuration that works perfectly for every IPTV stream.
Can You Use TiviMate Premium on Windows 11?
You can use your TiviMate Premium account within a compatible Android environment, but remember that the Windows PC is effectively running the Android application through an emulator.
TiviMate Premium unlocks application features. It does not provide IPTV channels or an IPTV subscription. The official listing makes this distinction clear.
If you already use TiviMate Premium on another device, follow the normal TiviMate Premium account and activation process rather than purchasing another subscription unnecessarily.
For a detailed comparison of the available features, see TiviMate Premium vs Free.
Can You Install TiviMate Using Windows Subsystem for Android?
You may find older guides recommending Windows Subsystem for Android (WSA).
That information is outdated.
Microsoft ended support for Windows Subsystem for Android and the Amazon Appstore on March 5, 2025. As a result, WSA should not be presented as the current standard method for installing TiviMate on Windows 11.
For a current Windows 11 setup, a supported Android emulator is the more practical route.
Is TiviMate on Windows 11 Worth Using?
It depends on why you want it.
TiviMate on Windows can make sense if:
- You already use TiviMate on Android TV.
- You want to test your playlist on a PC.
- You prefer TiviMate's interface.
- You want access to your existing TiviMate setup on a larger computer screen.
A Windows-native IPTV player may be better if:
- You only watch IPTV on your PC.
- You want better mouse and keyboard support.
- You do not want to run an Android emulator.
- You want lower resource usage.
- You want an application designed specifically for Windows.
The emulator method works, but it is important to understand that it is a workaround rather than a native TiviMate Windows installation.
TiviMate Windows 11 vs Native Windows IPTV Player
| Features | TiviMate Through Emulator | Native Windows IPTV Player |
|---|---|---|
| Native Windows app | No | Yes |
| Uses Android environment | Yes | No |
| TiviMate interface | Yes | No |
| Mouse and keyboard focused | Not primarily | Usually |
| Emulator required | Yes | No |
| M3U support | Yes | Depends on player |
| Xtream Codes | Yes | Depends on player |
| EPG | Yes | Depends on player |
| Uses additional system resources | Yes | Usually less |
If your main goal is specifically to use TiviMate, the emulator route is the practical choice.
If your main goal is simply to watch IPTV on Windows, a native Windows IPTV player may provide a more natural desktop experience.
Common Mistakes to Avoid
Downloading a Fake TiviMate Windows Installer
There is no official TiviMate Windows .exe installer.
Avoid websites claiming that their modified Windows installer is the official TiviMate PC version.
Installing a Cracked APK
Do not use modified APKs advertised as “TiviMate Premium unlocked.”
Besides being unauthorized, modified applications can create security and stability risks.
Assuming TiviMate Includes Channels
TiviMate does not provide IPTV channels. You need your own compatible playlist or lawful IPTV source. Looking for a compatible service? Review our IPTV Plans.
Changing Too Many Settings at Once
If TiviMate buffers or crashes, change one setting at a time.
Otherwise, you will not know which change fixed or caused the problem.
Giving the Emulator Too Many Resources
More CPU and RAM do not automatically mean better performance. Leave enough resources for Windows and your other applications.
Quick Setup Checklist
Before you start watching, check the following:
- Windows 11 is updated
- Your PC meets the emulator requirements
- Virtualization is enabled if required
- Android emulator is installed from its official source
- TiviMate is obtained from a trusted official source
- TiviMate opens correctly
- IPTV playlist has been added
- Channels are loading
- EPG is working
- Video and audio are working
- Your internet connection is stable
- Emulator performance is acceptable
Frequently Asked Questions
Is TiviMate available for Windows 11?
No. TiviMate does not have a native Windows 11 application. It is designed for Android TV. You can run it on Windows 11 through a compatible Android emulator.
How do I install TiviMate IPTV Player on Windows 11?
Install a compatible Android emulator on Windows 11, set up the Android environment, install the official TiviMate Android app, and then add your M3U, Xtream Codes, or other supported IPTV playlist.
Can I download TiviMate for Windows as an EXE?
No official TiviMate .exe or .msi installer is available. Be cautious with websites offering unofficial TiviMate Windows installers.
Can I use TiviMate on my Windows 11 laptop?
Yes, but not as a native Windows application. You need to run the Android version through an emulator.
Is BlueStacks good for TiviMate on Windows 11?
BlueStacks can provide an Android environment on Windows 11 and supports the hardware virtualization commonly used by Android emulators. Performance will depend on your PC configuration and emulator settings.
Do I need an IPTV subscription to use TiviMate?
TiviMate itself does not provide IPTV channels. You need a compatible playlist or IPTV service to load content into the player.
Can I use Xtream Codes on TiviMate Windows 11?
Yes. You can use the Android version of TiviMate inside an emulator and add Xtream Codes details if your IPTV provider supports that login method.
Can I add an M3U playlist to TiviMate on Windows 11?
Yes. Once TiviMate is running inside the Android emulator, you can add a supported M3U playlist just as you would on a compatible Android TV device.
Why is TiviMate buffering on my Windows 11 PC?
Buffering can be caused by your internet connection, IPTV stream, provider, emulator performance, or playback settings. Test multiple channels before deciding where the problem is.
Why is TiviMate not showing the EPG on Windows 11?
Check your EPG source, playlist, channel matching, internet connection, and EPG update settings. If the EPG works on another device using the same source, investigate the emulator or local setup.
Can I use TiviMate Premium on Windows 11?
TiviMate Premium features can be used within the Android application, but the app is still running through an Android environment rather than as a native Windows application.
Can I install TiviMate through Windows Subsystem for Android?
WSA is no longer a currently supported solution. Microsoft ended support for Windows Subsystem for Android and the Amazon Appstore on March 5, 2025.
Final Thoughts
If you searched for how to install TiviMate IPTV Player on Windows 11, the key point is simple: there is no native Windows version to install.
The practical method is to run the Android version through a compatible emulator.
The basic process is:
For the best experience, use a reasonably powerful Windows 11 PC, keep your graphics drivers updated, and avoid unofficial or modified TiviMate downloads.
If you mainly use TiviMate on a TV, an Android TV or compatible Google TV device remains the more natural environment because that is the platform TiviMate was designed for.
For related setup help, see our TiviMate Installation Guide and How to Add Playlist to TiviMate.